ANNONCE
Introduction
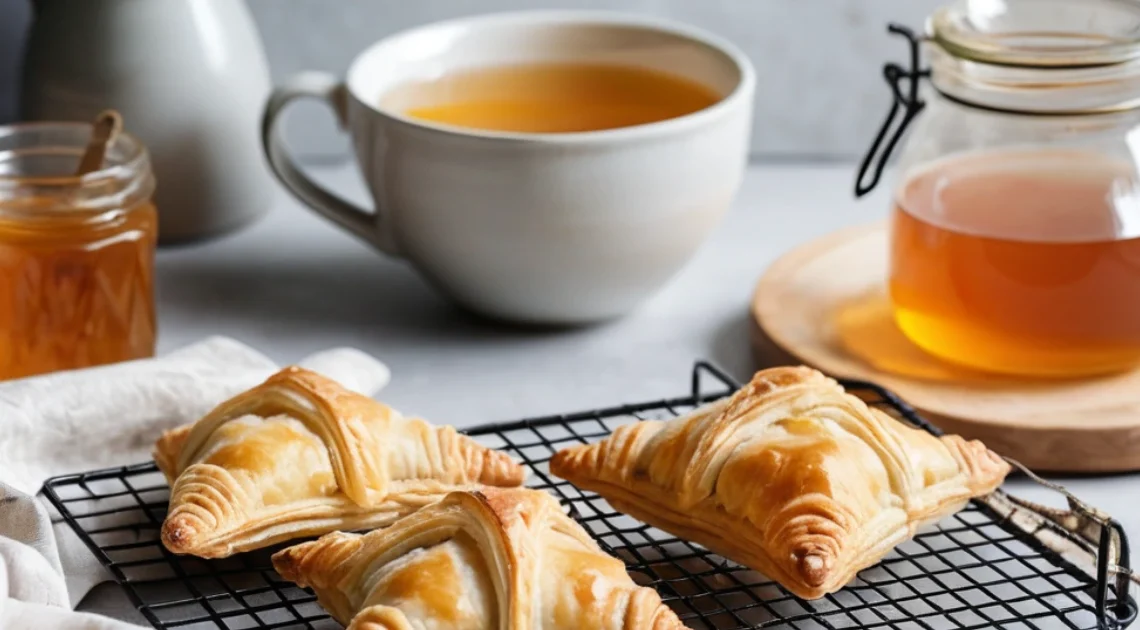
Gluten-free puff pastry has become a game-changer for those who love baking but need to avoid gluten. Whether you’re dealing with celiac disease, gluten intolerance, or simply exploring gluten-free options, crafting a perfect puff pastry without gluten opens a world of possibilities. Imagine flaky layers, buttery goodness, and endless recipe versatility—now accessible to everyone.
Yet, gluten-free baking comes with its unique challenges. Puff pastry, traditionally reliant on gluten to create those airy layers, can feel intimidating to recreate. But with the right techniques, ingredients, and a bit of patience, you can master this art and enjoy the same indulgent textures and flavors without compromise.
This guide takes you through everything you need to know about gluten-free puff pastry, from understanding the basics to creating flawless recipes and troubleshooting common issues.
Understanding the Basics of Gluten-Free Puff Pastry
What Makes Traditional Puff Pastry So Special?
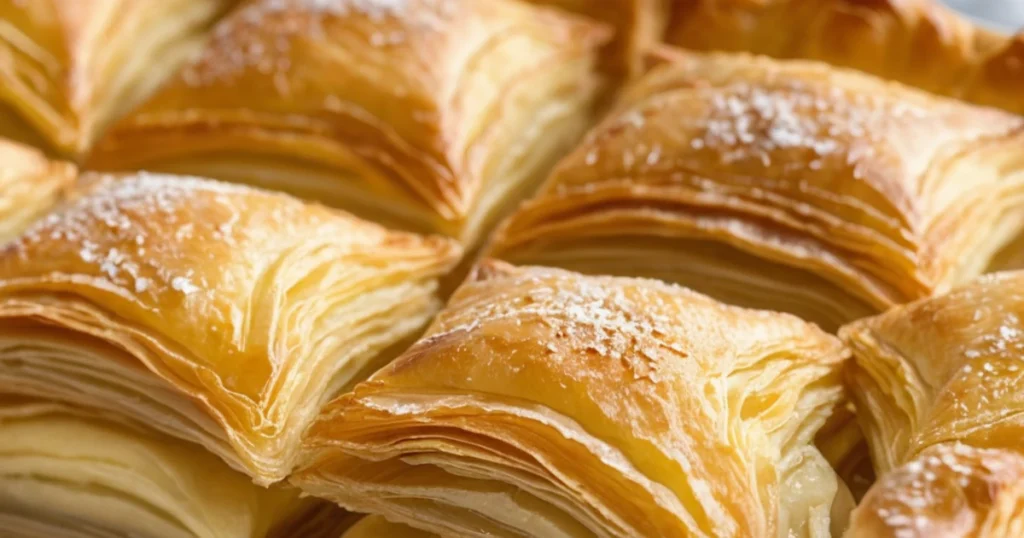
Traditional puff pastry is celebrated for its delicate layers and irresistible flakiness, a texture that relies heavily on gluten for its creation. Gluten, a protein found in wheat, acts as a structural backbone, providing the dough with elasticity, stretchability, and strength. These qualities are essential for creating the thin, uniform layers that puff up during baking to produce the signature airy texture of puff pastry. The magic happens during the lamination process, where sheets of dough are folded around butter and rolled out repeatedly. When the pastry bakes, the water in the butter creates steam, lifting and separating the layers to form the light, flaky texture we all love. Achieving this delicate balance without gluten requires understanding the critical role gluten plays in traditional recipes.
ANNONCE
The Science of Gluten and Why It’s Tricky to Replace
Gluten serves as more than just a structural component; it is a natural binder that holds the dough together and prevents it from falling apart during rolling and baking. Its elasticity allows the dough to stretch without tearing, a crucial factor in creating the thin layers required for puff pastry. Without gluten, dough can become brittle, crumbly, and difficult to work with. This is where the real challenge lies in crafting gluten-free puff pastry. To replicate gluten’s functionality, bakers must rely on a carefully balanced combination of alternative flours, starches, and binding agents. Each ingredient plays a specific role, working together to mimic the stretch, flexibility, and cohesiveness that gluten naturally provides. However, even with the best substitutes, achieving the same lightness and flakiness as traditional puff pastry requires precision and practice.
Essential Ingredients for Gluten-Free Puff Pastry
Gluten-Free Flours: The foundation of any gluten-free puff pastry is the choice of flour. Almond flour, rice flour, and tapioca flour are among the most commonly used options. Almond flour brings a rich, nutty warmth to the mix, rice flour offers a delicate, neutral foundation, and tapioca flour adds that perfect touch of elasticity and chewiness.. However, no single gluten-free flour can replicate the properties of wheat flour on its own. Combining these flours in specific ratios creates a balanced mixture that offers structure and flexibility, essential for forming thin layers without cracking or tearing.
The Role of Starches: Starches like potato starch, cornstarch, and arrowroot powder are indispensable in gluten-free baking. They act as fillers, softening the texture of the dough and enhancing its ability to stretch and roll smoothly. Starches also help bind the dough, ensuring it stays intact during the rigorous lamination process. Additionally, they contribute to the light, airy texture of the final product by trapping moisture, which turns to steam during baking, aiding in the “puffing” effect.
Binding Agents: Without gluten, the dough lacks the elasticity that makes traditional puff pastry pliable and cohesive. This is where binding agents such as xanthan gum and psyllium husk powder come into play. Xanthan gum is a widely used additive that mimics gluten’s stretchy properties, ensuring the dough holds together during rolling and folding. Psyllium husk powder, on the other hand, not only binds the ingredients but also adds moisture, preventing the dough from becoming dry or crumbly. Using the right amount of these agents is critical, as too little can lead to fragile dough, while too much may result in a gummy texture.
ANNONCE
By carefully selecting and combining these ingredients, you can create a gluten-free puff pastry dough that is workable, reliable, and capable of producing those coveted light, flaky layers without sacrificing flavor or texture.
ANNONCE
Step-by-Step Guide to Crafting Gluten-Free Puff Pastry
Preparing the Dough: Mixing Ingredients for Success
The first and most crucial step in crafting gluten-free puff pastry is preparing the dough with precision and care. Begin with a carefully measured blend of gluten-free flours, such as rice flour, almond flour, and tapioca flour, along with starches like potato starch or cornstarch. Accurate measurements are essential to ensure the right balance of structure and pliability. To mimic the binding and elasticity provided by gluten, incorporate xanthan gum or psyllium husk powder. These ingredients help hold the dough together, making it workable during rolling and folding.
Add a pinch of salt for flavor and slowly incorporate cold water, mixing gently until the dough comes together into a firm yet pliable consistency. It’s important not to overwork the dough, as this can make it tough and reduce its ability to puff. Once the dough is formed, wrap it tightly in plastic wrap and chill it in the refrigerator for at least 30 minutes. Chilling is not just recommended—it’s essential. It allows the dough to firm up and ensures the butter won’t melt prematurely during the lamination process. Cold dough is far easier to handle and roll, setting the foundation for the flaky layers to come.
ANNONCE
Lamination Basics: Creating Flaky Layers Without Gluten
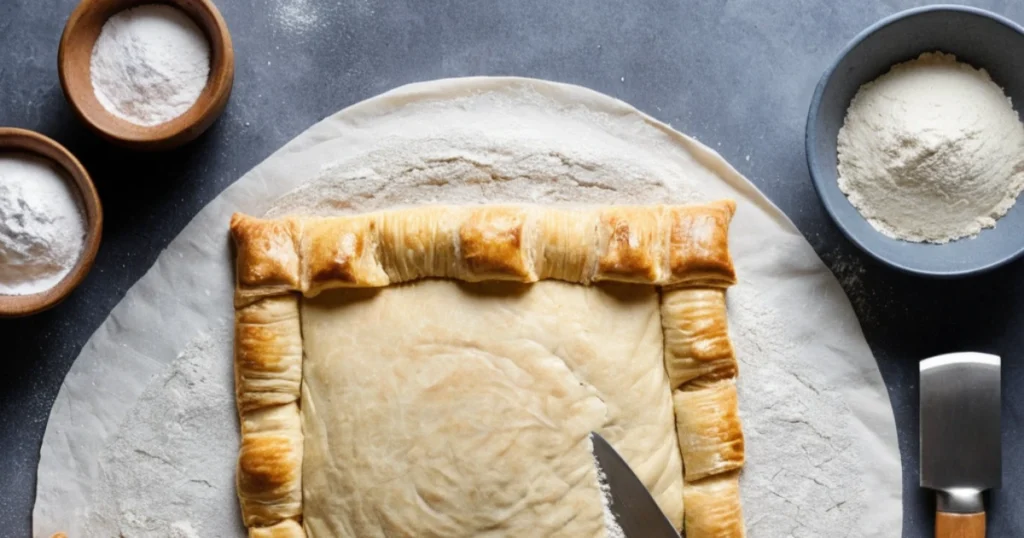
Lamination is the process of folding and rolling butter into the dough to create the thin, distinct layers that puff pastry is known for. For gluten-free puff pastry, maintaining cold temperatures is even more critical, as the dough can be more delicate and prone to breaking without gluten. Begin by rolling out the chilled dough into a rectangular shape. Prepare a butter block by flattening cold butter into a similar rectangle, slightly smaller than the dough.
Place the butter block in the center of the dough and fold the dough over it like an envelope, fully encasing the butter. Ensure all edges are sealed to prevent butter leakage. Roll the dough out gently to a larger rectangle, then fold it into thirds, similar to folding a letter. This creates the initial layers of butter and dough. Repeat the rolling and folding process several times, usually 4–6 folds, chilling the dough between each fold. The more folds you complete, the more layers your pastry will have, leading to a lighter and flakier texture.
Rolling and Folding: The Secret to a Perfect Puff
Rolling and folding the dough evenly is the key to creating consistent layers in your gluten-free puff pastry. When rolling out the dough, apply gentle but firm pressure to maintain uniform thickness across the entire sheet. Uneven rolling can cause some areas to puff more than others during baking. To prevent the dough from sticking, use a light dusting of gluten-free flour on your work surface and rolling pin. However, avoid using too much flour, as it can alter the texture of the dough and make it overly dense.
The folding process should be done with care. Fold the dough in thirds, creating layers without pressing too hard, which could compress the butter and prevent it from forming distinct layers. Rotate the dough 90 degrees with each fold to ensure even distribution of butter and dough throughout. Work quickly and efficiently to keep the dough cold, as warm butter can seep out and ruin the lamination process.
ANNONCE
Chilling and Resting: Why Timing Matters in Puff Pastry
Chilling and resting the dough is an often-overlooked but vital part of making gluten-free puff pastry. After each rolling and folding step, the dough should be wrapped in plastic wrap and returned to the refrigerator for 20–30 minutes. This chilling period allows the butter to firm up again, preventing it from melting into the dough and ensuring the layers remain distinct. It also makes the dough easier to handle during the next roll.
In addition to maintaining the butter’s temperature, resting allows the starches in the gluten-free flour blend to fully hydrate. This hydration improves the dough’s elasticity and reduces the risk of cracking or tearing during rolling. The result is a smoother, more pliable dough that is easier to work with and yields better results.
Baking Your Gluten-Free Puff Pastry: Tips for Even Puffing
When it’s time to bake, proper preparation ensures your gluten-free puff pastry rises beautifully and bakes evenly. Preheat your oven to the correct temperature—generally around 375°F to 400°F (190°C to 200°C). A fully preheated oven is crucial for creating the initial burst of steam that lifts the layers and gives the pastry its signature puff.
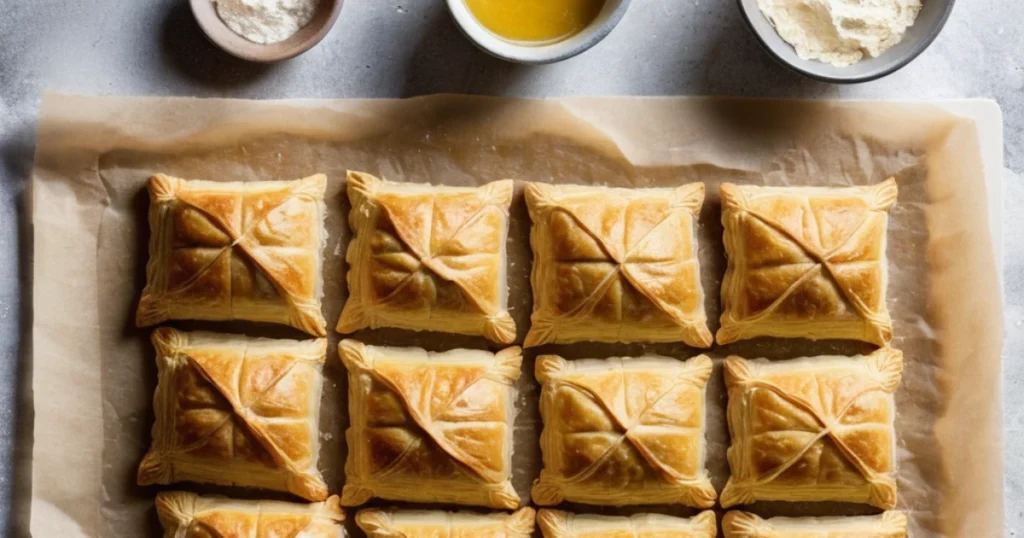
Line your baking tray with parchment paper to prevent sticking and arrange the pastry pieces with enough space between them to allow for expansion. Avoid opening the oven door during the first 10–15 minutes of baking, as this can disrupt the steam formation and cause uneven puffing. Once the pastry is golden brown and crisp, remove it from the oven and let it cool slightly before serving.
ANNONCE
By following these steps, you’ll achieve a gluten-free puff pastry that’s light, flaky, and every bit as delicious as its traditional counterpart.
Common Pitfalls and How to Avoid Them
Dough Cracking or Tearing: Tips for Smooth Handling
One of the most frustrating challenges when working with gluten-free puff pastry is dealing with dough that cracks or tears. This issue typically arises when the dough is too dry, as gluten-free flours can absorb moisture differently than wheat-based flours. If you notice cracks forming, add a small amount of cold water—just a teaspoon at a time—to the dough and knead it gently. This gradual addition of moisture can bring the dough back together without making it overly sticky.
Another common reason for cracking is insufficient hydration of the starches in your flour blend. Allowing the dough to rest in the refrigerator before rolling gives the starches time to absorb moisture fully, improving the dough’s elasticity. Additionally, always keep the dough covered with plastic wrap or a damp towel when not in use to prevent it from drying out. If you’re rolling out the dough and it begins to tear, use a light dusting of gluten-free flour to prevent sticking, but avoid over-flouring, as this can exacerbate dryness and cause further cracking.
Butter Leakage: Ensuring Proper Lamination
Butter leakage is a frequent problem when making puff pastry, especially gluten-free versions where the dough structure is more delicate. The most important factor in preventing this is ensuring that the butter block and dough are at the same consistency before beginning the lamination process. If the butter is too soft, it will melt and seep out during rolling and folding. If it’s too hard, it can break through the dough, creating uneven layers.
ANNONCE
To achieve the right balance, let your butter sit at room temperature for a few minutes until it’s pliable but still firm. When rolling the dough, work quickly to keep both the butter and dough cold. Chilling the dough between each lamination fold helps to re-solidify the butter and prevent it from leaking out. If you notice butter beginning to seep during rolling, stop and chill the dough immediately to avoid further damage to the layers. Always seal the edges of the dough tightly after encasing the butter to lock it in during the initial folds.
Uneven Puffing: Troubleshooting Layering Issues
Achieving consistent puffing is one of the hallmarks of a successful puff pastry, but uneven puffing can be a common setback. This issue often stems from uneven rolling or improperly executed folds during lamination. To ensure even puffing, focus on rolling the dough to a uniform thickness, applying steady and equal pressure across the entire surface. Uneven layers can trap air inconsistently, causing some parts of the pastry to rise higher than others during baking.
Pay close attention to the edges of the dough while folding. Misaligned folds can lead to areas with more or fewer layers, resulting in an uneven rise. Rotate the dough 90 degrees with each fold to distribute layers evenly. Additionally, always rest the dough between lamination steps to relax any tension and maintain a uniform structure. Before baking, use a sharp knife to trim the edges of the pastry cleanly; ragged edges can compress layers and interfere with proper puffing.
Texture Troubles: How to Achieve the Right Flakiness
Flakiness is the ultimate goal when crafting puff pastry, and it depends entirely on maintaining distinct, well-defined layers of butter and dough. For gluten-free puff pastry, this requires extra care due to the absence of gluten’s natural elasticity. The key is to work quickly while the butter is cold but pliable, as warm butter will blend into the dough instead of creating separate layers.
ANNONCE
Avoid overworking the dough, as this can compress the layers and result in a dense, tough texture. Laminate the dough with a light touch, focusing on folding rather than pressing too hard. Over-flouring the surface during rolling can also interfere with the layering process, as excess flour gets absorbed into the dough and disrupts its consistency.
When baking, a well-preheated oven is essential to create the burst of steam needed to lift and separate the layers. If your pastry turns out less flaky than desired, it could indicate insufficient folding or improperly chilled dough. By maintaining cold temperatures and carefully following the lamination process, you can achieve a light, flaky texture that rivals traditional puff pastry.
Creative Uses for Gluten-Free Puff Pastry
Savory Ideas: Pies, Quiches, and Sausage Rolls
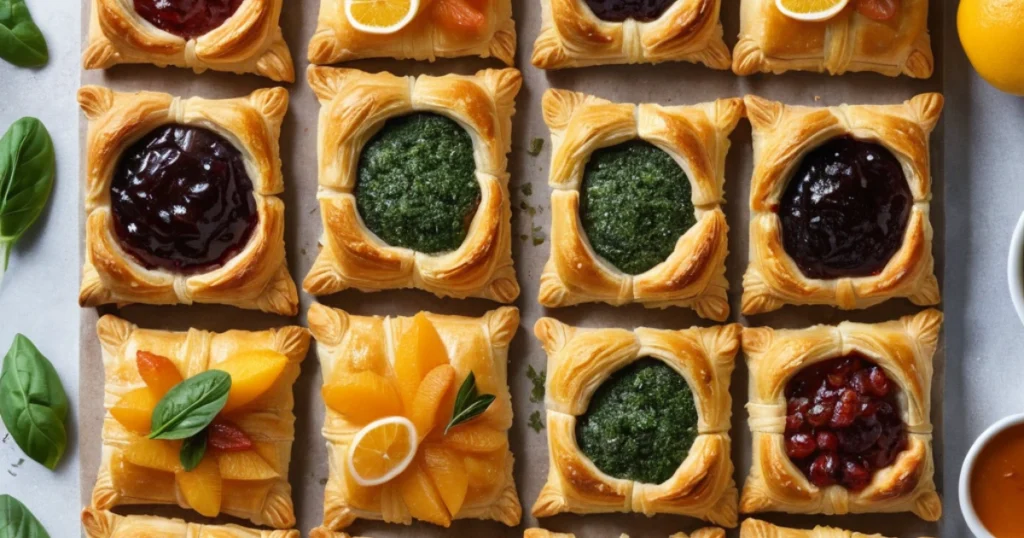
Use gluten-free puff pastry to make flaky pot pies, cheesy quiches, or golden-brown sausage rolls. These savory recipes are perfect for appetizers, lunches, or cozy dinners.
Sweet Treats: Tarts, Turnovers, and Cream-Filled Pastries
For dessert lovers, gluten-free puff pastry can be used to create fruit-filled tarts, apple turnovers, or custard-filled pastries. Sprinkle them with powdered sugar for that classic bakery-perfect touch.
ANNONCE
Special Occasions: Gluten-Free Puff Pastry for Holidays and Parties
Gluten-free puff pastry shines during holidays. Try making festive wreaths, star-shaped pastries, or individual puff pastry cups filled with seasonal ingredients.
Health Benefits and Dietary Considerations
Why Go Gluten-Free? Benefits for Celiac and Gluten-Intolerant Individuals
A gluten-free diet can alleviate symptoms for those with celiac disease or gluten intolerance. Gluten-free puff pastry allows these individuals to enjoy traditional treats without compromising their health.
Combining Gluten-Free Puff Pastry with Other Dietary Needs
Vegan Options: Substitute butter with dairy-free margarine or coconut oil to create a vegan-friendly version.
Low-Carb Variations: Use almond flour or coconut flour for a lower-carb alternative, adjusting the starch content to maintain structure.
ANNONCE
Tips for Busy Bakers
Storing Gluten-Free Puff Pastry: Fridge vs. Freezer
Homemade gluten-free puff pastry can be stored in the refrigerator for up to three days or frozen for up to three months. Wrap it snugly in plastic wrap and seal it in an airtight container to keep freezer burn at bay.
Time-Saving Hacks: Pre-Made Doughs and Mixes
If you’re short on time, consider using pre-made gluten-free puff pastry dough. Many brands offer high-quality options that save time without sacrificing taste.
Best Tools to Simplify the Process
Invest in a good rolling pin, pastry board, and silicone baking mats. These tools make rolling, folding, and handling the dough much easier.
Conclusion
Gluten-free puff pastry proves that dietary restrictions don’t have to mean sacrificing flavor or texture. With the right ingredients, techniques, and a bit of practice, you can create a puff pastry that rivals its gluten-filled counterpart. Whether you’re baking for yourself or loved ones, the joy of mastering this recipe will be well worth the effort.
ANNONCE
So, gather your ingredients, roll out your dough, and start experimenting. From savory pies to sweet pastries, the possibilities are endless with gluten-free puff pastry. Your kitchen will soon be filled with the enticing aroma of flaky, buttery success!

